Effects
Effects tab supports whole image quality, light, shadow, bloom, outline, rim light, wind and other settings.
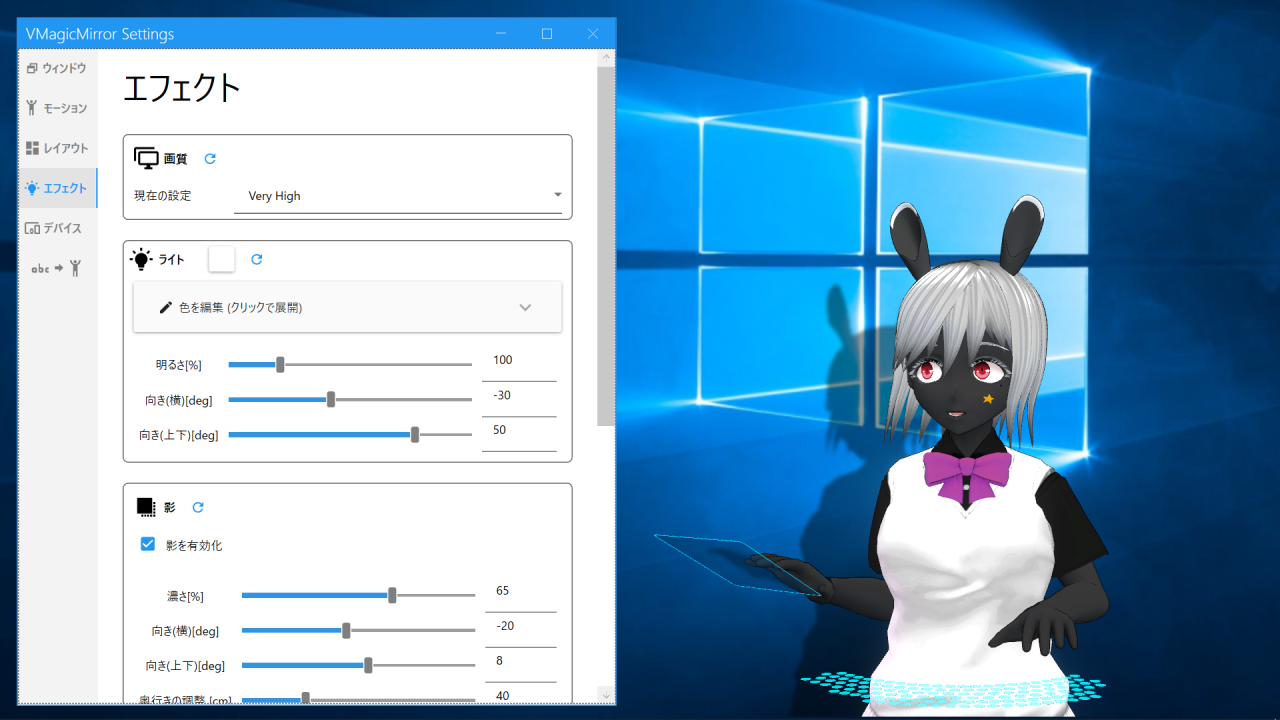

Image Quality
Set image quality and framerate.
Quality: Select whole rendering quality. Higher quality improves appearance, while GPU load becomes higher.Framerate: Set rendering framerate. SelectMatch to Monitor's Refresh Rateto render according to monitor setting.Anti Alias: Choose anti alias (Multisample Anti-Alias) option. Higher setting makes jagged edges less noticeable, while rendering load becomes higher. The feature is off by default.Low FPS for Bone Motion: Turn on to reduce avatar motion’s FPS. Note that this option does not reduce CPU usage.Disable HDR even when Quality is High or higher: Turn on to render without HDR even when quality is High or higher. Turning off HDR saves performance, while lighting effect quality becomes lower.
Light
Set the light applied to the avatar.
Light Color: Set the color of the light applied to the avatar.Intensity [%]: Set light intensity. Larger value makes the avatar brighter.Yaw Angle [deg]: Set horizontal direction of the light.Pitch Angle [deg]: Set vertical direction of the light.Desktop Color Based Lighting: Capture the color tone of PC screen in real time and apply it to the avatar light color. Use this to blend avatar appearance with the screen color.
NOTE
Desktop Color Based Lighting option uses a kind of window capture API and it leads yellow frame effect on your monitor.
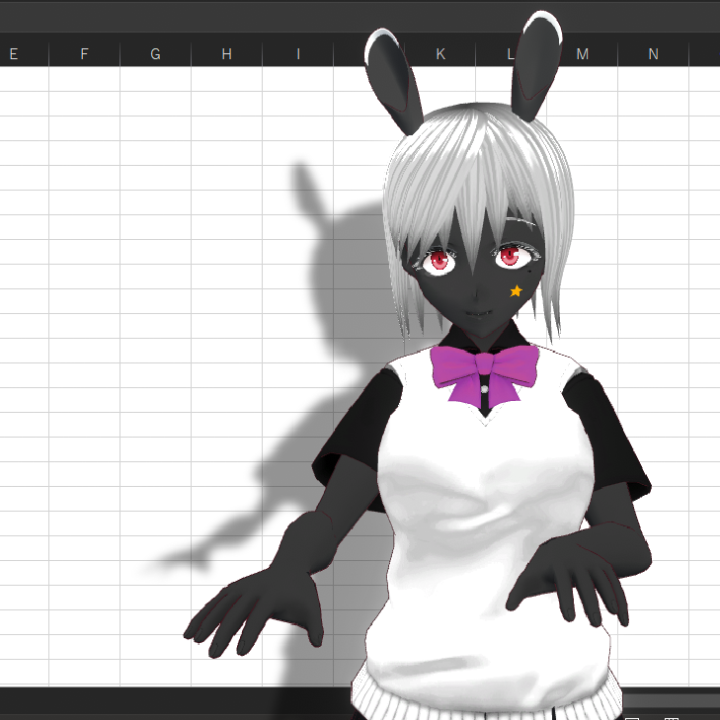
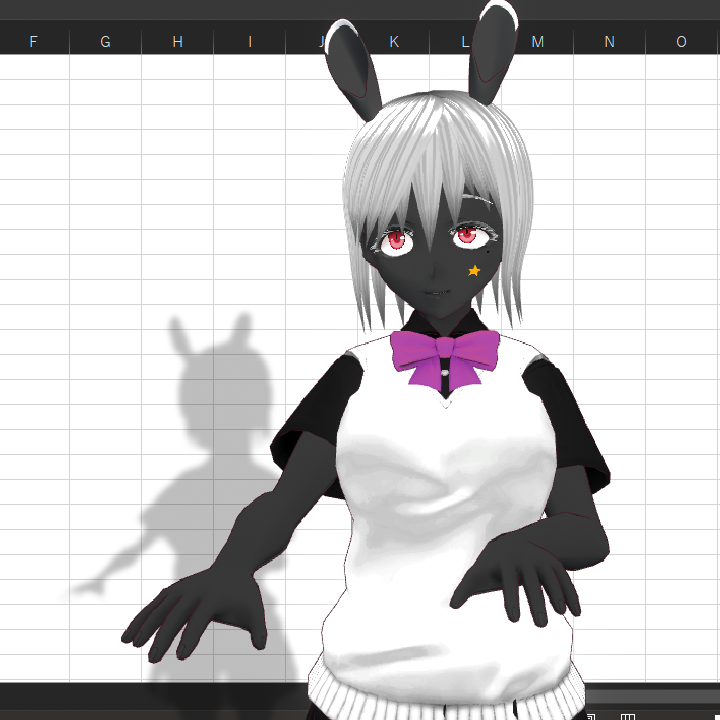
Shadow
Set the avatar’s shadow.
Enable Shadow: Turn on to show the avatar’s shadow. When this is off, both regular shadow and Full Body Shadow are hidden.Shadow Color: Set shadow color. Usually, near-black color works well.Intensity [%]: Set shadow intensity. Larger value makes the shadow darker.Blur Size: Set blur size of regular shadow. Larger value makes shadow edges softer. This setting does not affect Full Body Shadow.Yaw Angle [deg]: Set horizontal direction where the shadow extends.Pitch Angle [deg]: Set vertical direction where the shadow extends.Depth Offset [cm]: Adjust perceived depth of the shadow. Use this to adjust distance impression between avatar and background.Full Body Shadow Settings: Set the shadow shown around avatar’s feet. This shadow is shown at different position from regular shadow, and is designed to achieve good appearance when showing avatar’s full body.Always Apply Full Body Shadow: Turn on to show Full Body Shadow regardless of lower body motion state.Apply When Locomotion is Active: Turn on to show Full Body Shadow when the app detects lower body motion is active. By default, lower body motion is considered active when Game Input is enabled, or when lower body pose is received by VMC Protocol.
Bloom
Bloom is an effect to add soft light around the avatar.
Bloom Color: Set bloom color.Intensity [%]: Set bloom intensity. Set the value to 0 to disable bloom.Threshold [%]: Set brightness threshold to apply bloom. Larger value applies bloom only to brighter areas.
Outline
Outline is an effect to draw lines around the avatar.
Enable Outline Effect: Turn on to enable outline effect. Outline effect is applied only whenTransparent Windowis enabled.Outline Color: Set outline color.Thickness: Set outline width.High Quality Mode: Turn on to improve outline quality. This requires higher GPU resources.
Note that, when there is almost-opaque visual including shadow, bloom, and accessories, outline will also be applied to those elements.
Rim Light
Rim Light is available in v5.0.0 and later versions. It is an effect to add light around the avatar’s outline. Use this when you want the avatar to stand out from the background.
Enable Effect: Turn on to enable Rim Light.Rim Light Color: Set Rim Light color.Emission: Set emission intensity of Rim Light. Larger value makes it look brighter when used with HDR and Bloom.Intensity [%]: Set how strongly Rim Light is applied. When this value is 0, Rim Light is not visible even ifEnable Effectis on.Thickness: Set width of Rim Light. When this value is 0, Rim Light is not visible even ifEnable Effectis on.Angle [deg]: Set direction where Rim Light appears strongly.
Wind
Add wind-like motion to avatar’s hair, clothes, and other spring bone parts.
Enable Wind: Turn on to enable wind effect.Strength [%]: Set strength of wind-based motion.Fineness [%]: Set fineness of wind variation. Larger value makes the wind change more finely.Direction [deg]: Set wind direction.
For the wind settings:
- Please setup
VRMSpringBonebeforehand, to enable wind-based motion. - Wind feature moves all
VRMSpringBonecomponents, so “only hair (not skirt)” like setting is not supported.
Ambient Occlusion
Ambient Occlusion is an effect to darken dents and boundaries around avatar parts. Use this to emphasize three-dimensional appearance.
Enable Effect: Turn on to enable Ambient Occlusion.Color: Set the color used for Ambient Occlusion. Usually, a near-black color works well. A color near white makes the effect less noticeable.Intensity [%]: Set Ambient Occlusion intensity. Larger value makes darkened areas more noticeable.
Hint
Light and shadow have separated orientations, so you can set the light orientation simply for the avatar’s looking, while adjust shadow orientation to show it on the back of the avatar.
Also, you can adjust the depth offset and orientation of the shadow, so that your avatar looks near or far to the screen.
Below is default setting, and example setting to show distance between screen and the avatar.
Please be aware that some VRM avatars use Unlit type shader, to which the light setting has no effect.