Get Started
This page is about the basic usage of VMagicMirror after download.
This video also shows the setup process.
Note that, this video refers older version, so some GUI has changed.
Content
1. Start and Load Character
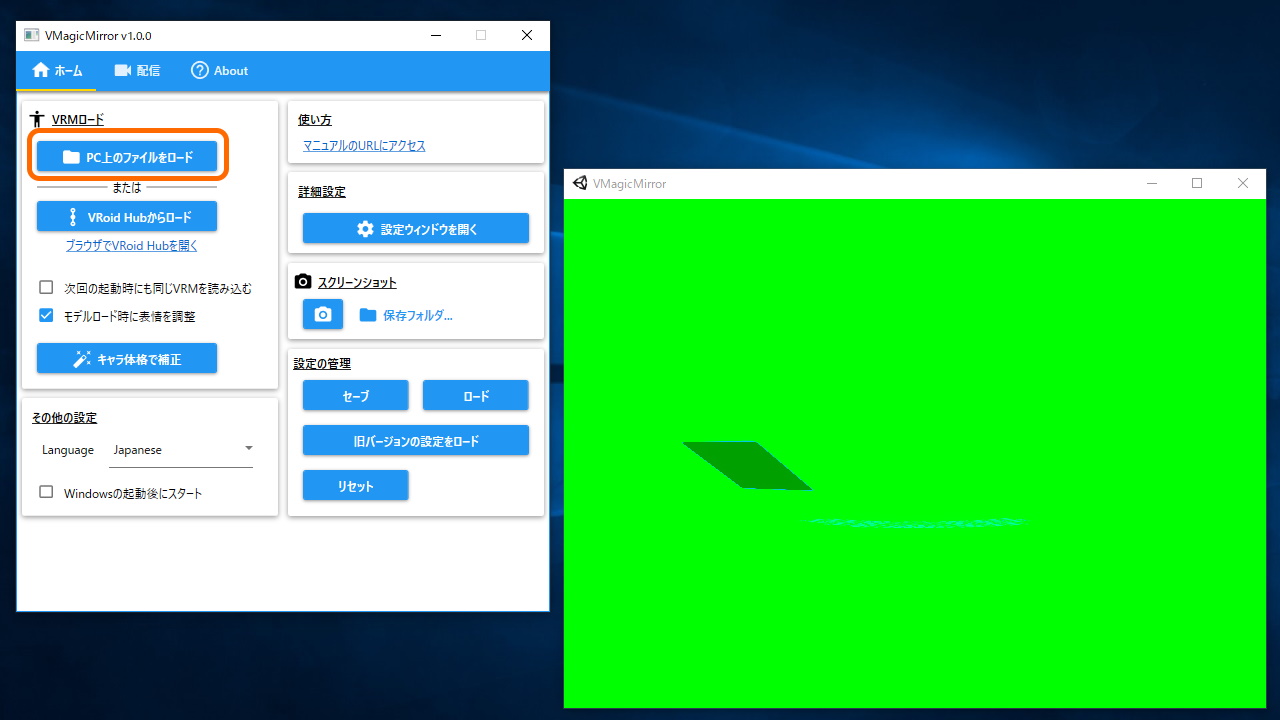
Start VMagicMirror.exe to show GUI window (“Control Panel”), and Green window to show character (“Character Window”).
When you close one of the window, the other window also closes and VMagicMirror quits. If you do not want to show control panel, then minimize it.
NOTE
If VMagicMirror.exe does not start correctly please check unzip settings. Right-click zip file to select Property, and check whether Security area exists at the bottom part. Check Allow and click OK to apply setting, then retry to unzip file.

There are 2 ways to load character, from VRM file on the PC or from VRoid Hub.
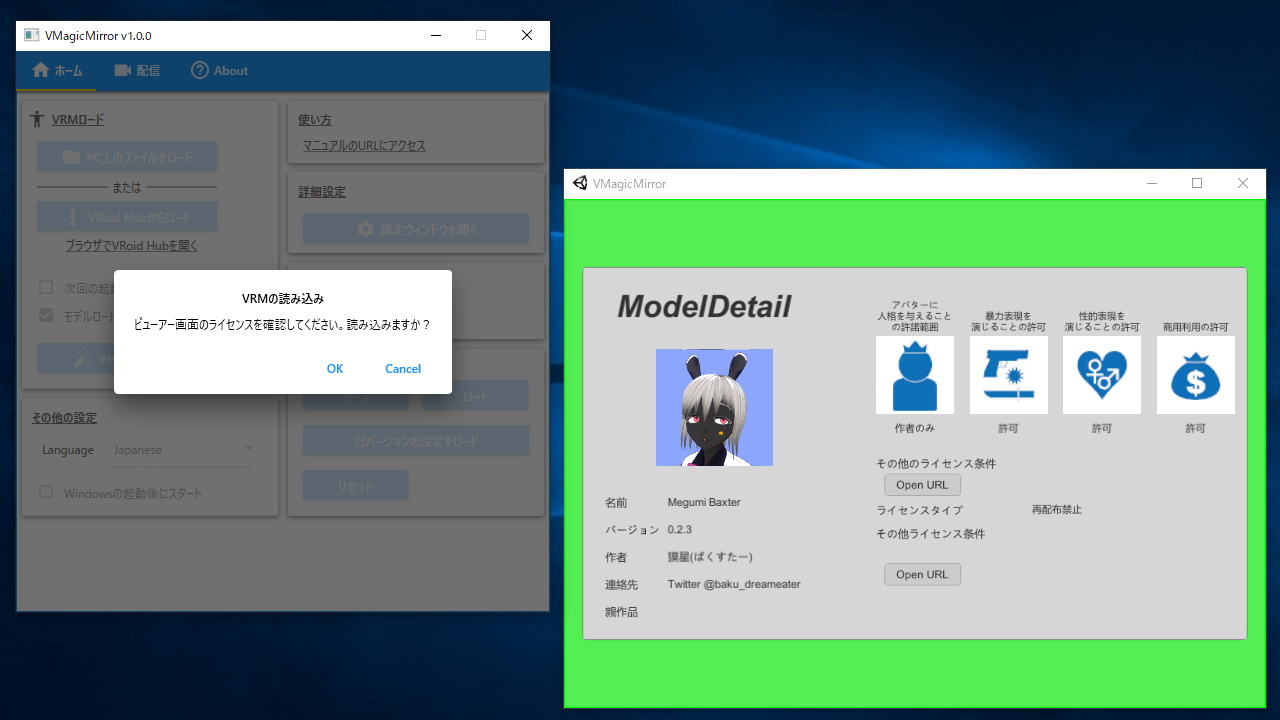
To use the file on PC, click Load from File to select file. Confirm the license and click OK to load the character.

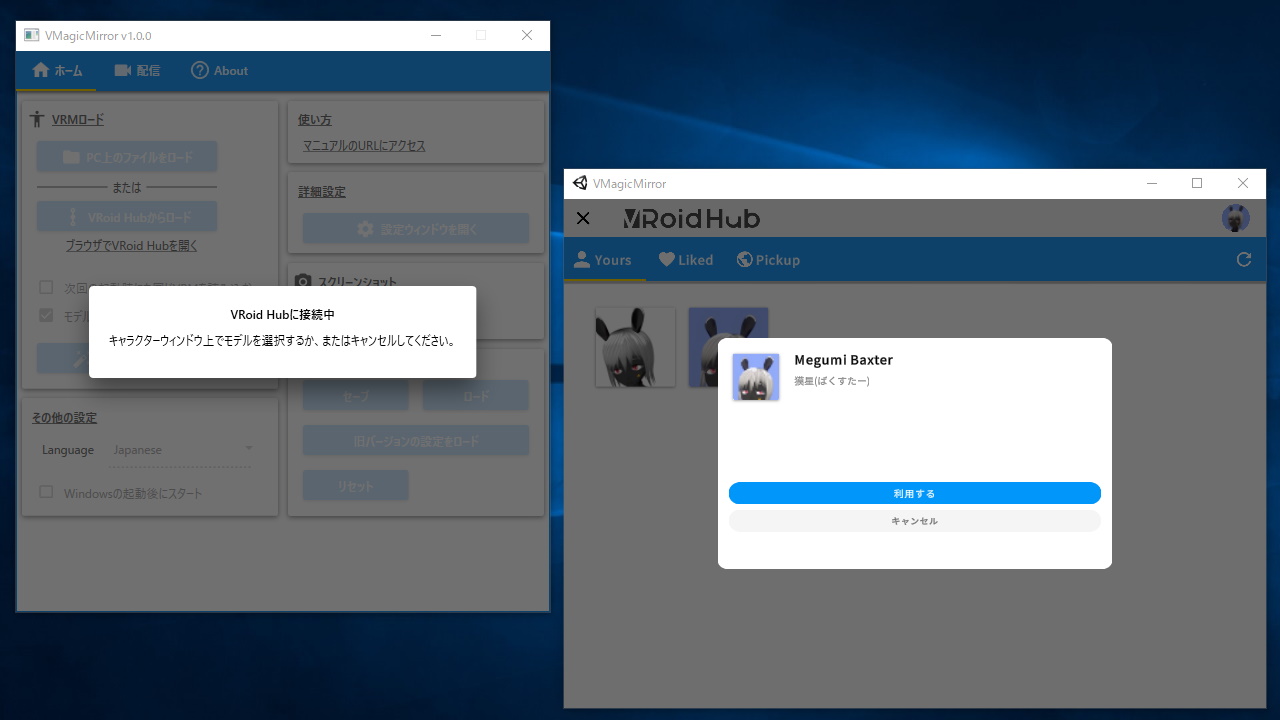
To use the model in VRoid Hub click Load from VRoid Hub, then character window will shows VRoid Hub loader UI, with authentication instruction in the first time.
After login, choose the avatar and check condition of use, then load.


NOTE
Some avatars by other authors are not available even if you liked it on VRoid Hub.
This is because of the usage limitation setting by the authors.
See the detail at Tips: Use VRoid Hub Avatar.
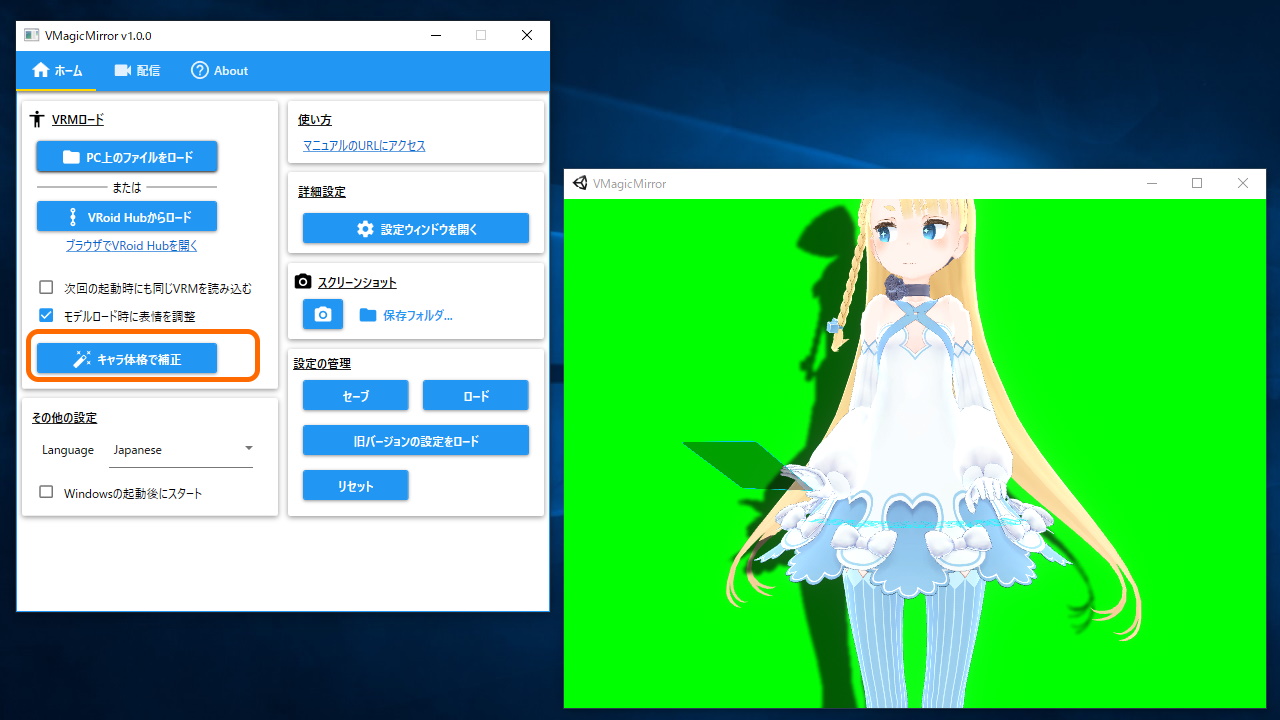
If you want to load the character automatically on next boot, then check Load current VRM on next startup.

Also, if your character is not shown correctly, try Adjust size by VRM button. You can more chances to fix the layout later.

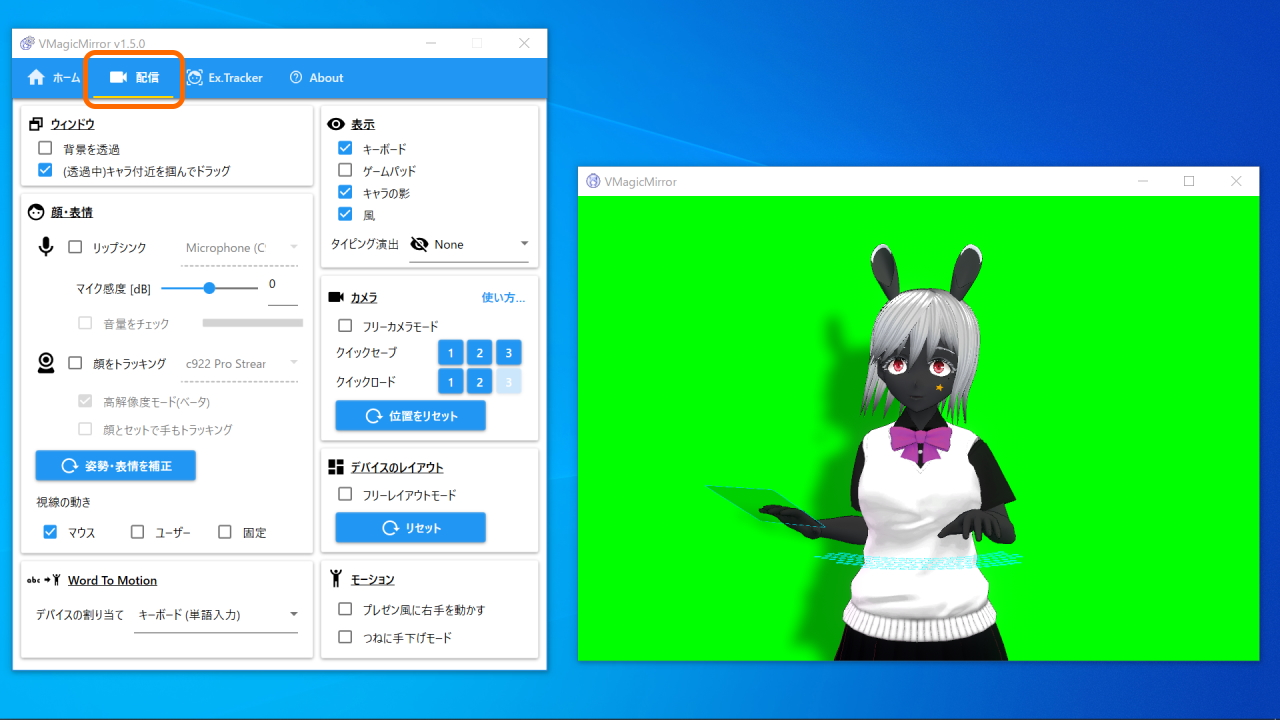
2. Streaming Tab and Main Features
Streaming tab in control panel is to access all of main features of VMagicMirror.
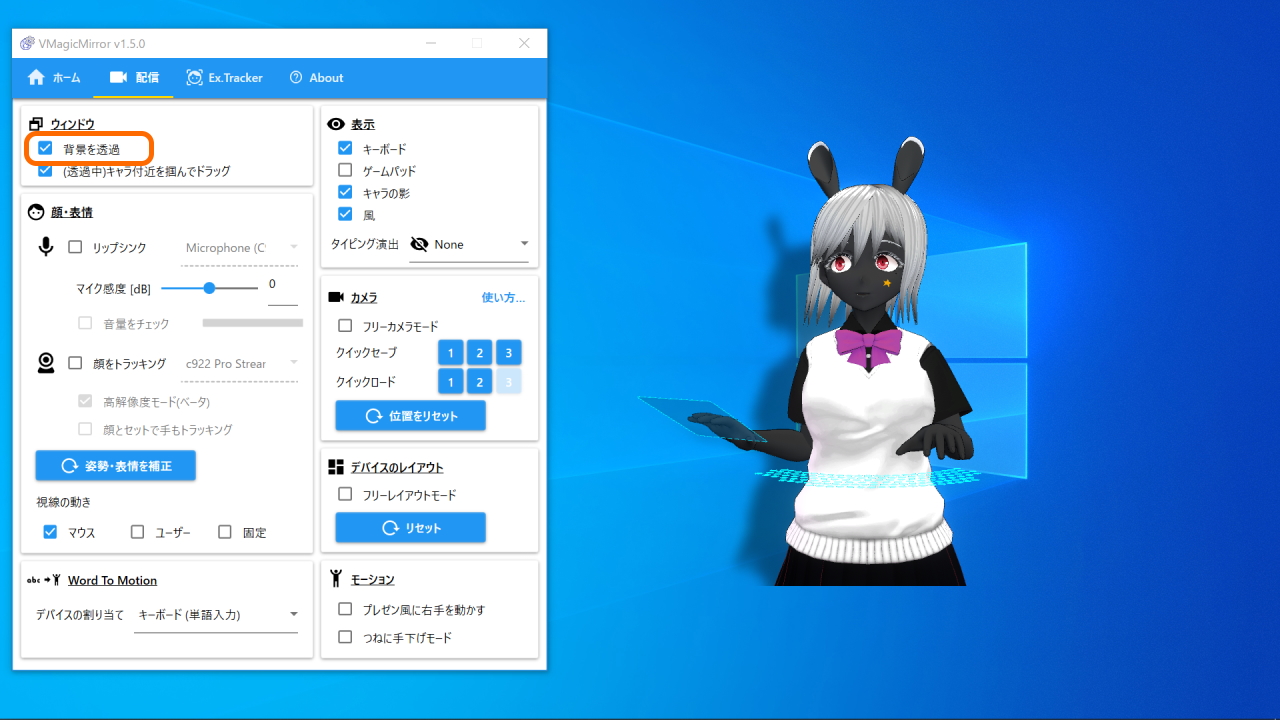
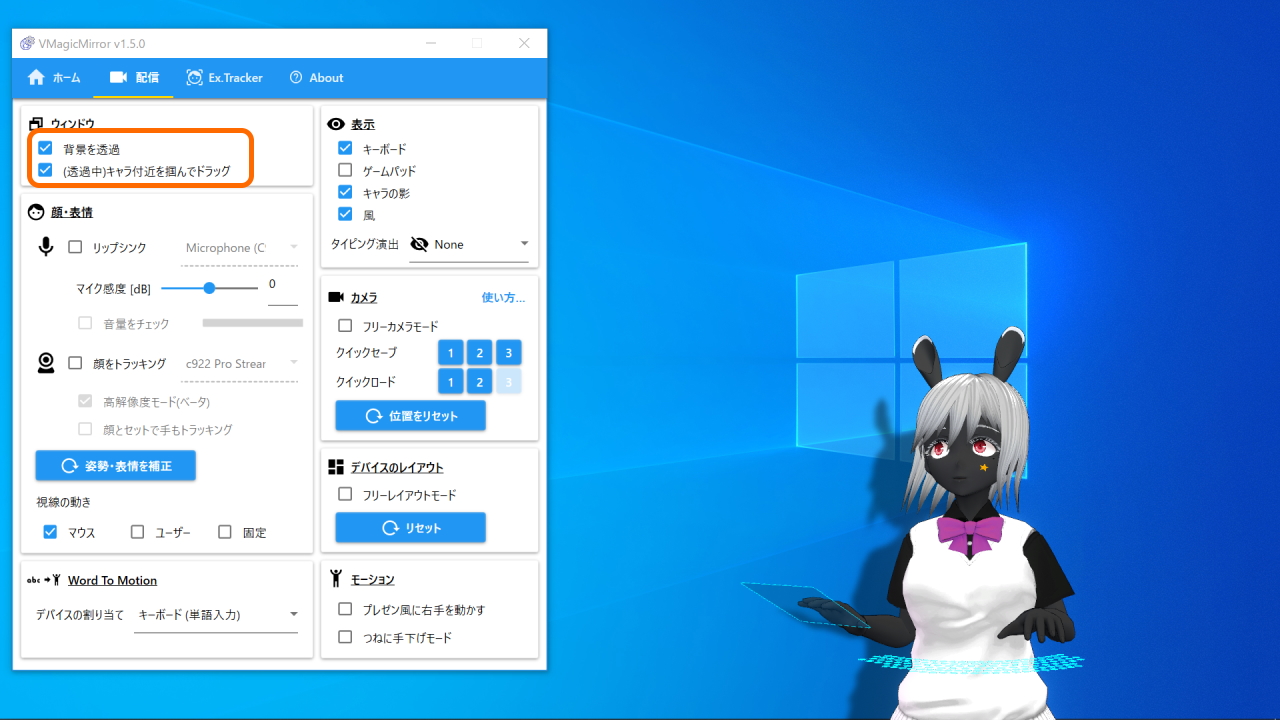
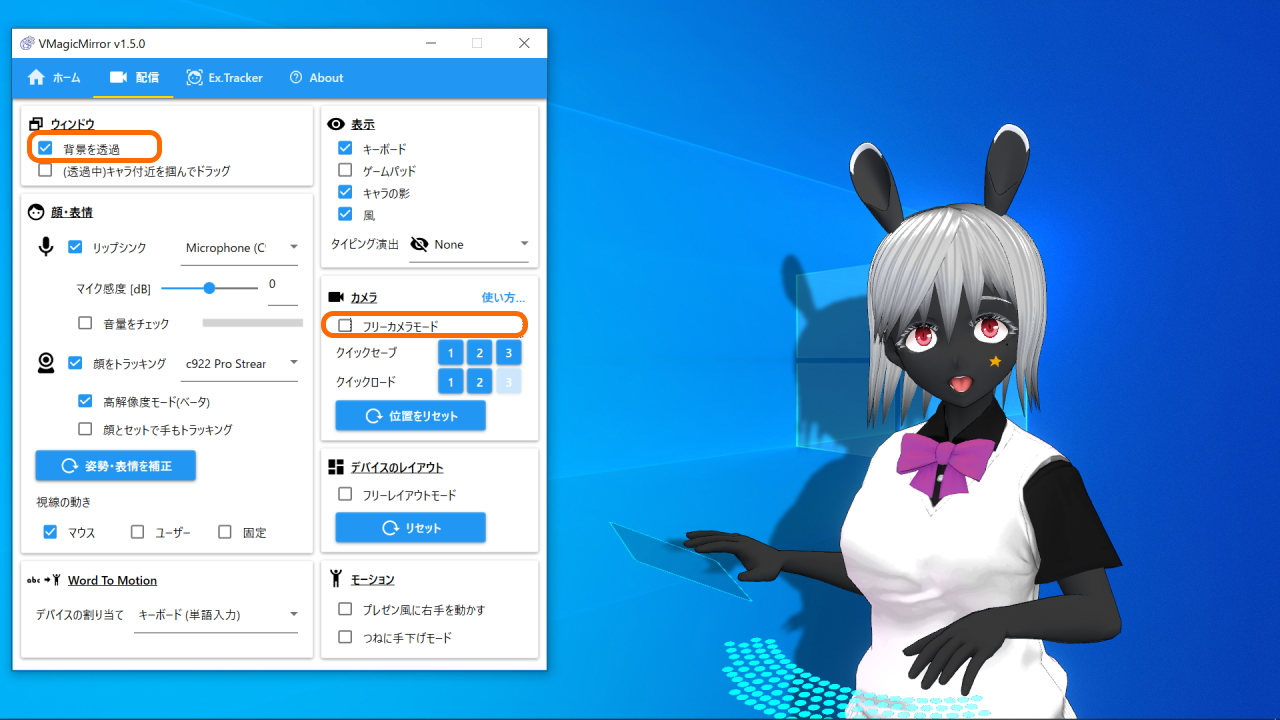
2.1. Window
Turn on Transparent Window to make character window to transparent.
When the window is transparent and (When Transparent) Drag the character is turned on, you can left-click and drag to move the character.
If you do not want the dragging feature, then turn off Drag the character after placing your avatar.

2.2. Face
Face can setup your VRM’s face expressions.
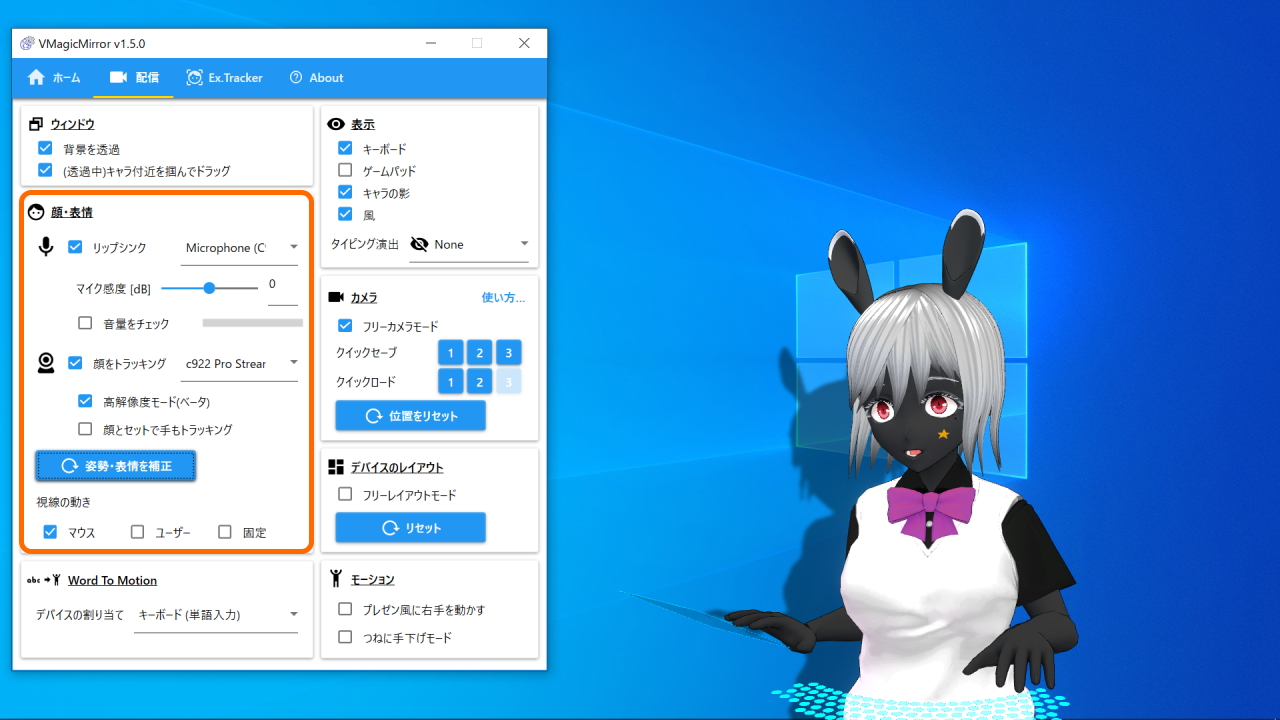
LipSync: Select microphone to use LipSync (viseme) feature.Sensitivity [dB]: Specify plus value when the microphone input is too small, to obtain good result for lipsync.Show Volume: Turn on to see the input volume. AdjustSensitivitysuch that, the volume bar is green and sometimes red during talking.Track Face: Select webcam to track your head motionHigh Power Mode: Get more quick face tracking result, while getting higher CPU load. In v1.5.0 it is an experimental feature.Enable image based hand tracking: Turn on to use camera image based minimal hand tracking.
If the model’s face does not rotate in face tracking, please open FAQ and see “Face not rotate when using face tracking” section.
Hand tracking has some limitations, please see Using Hand Tracking.
If your face is not at the center for the web camera, or you are too near/far to the camera, the character indication might be unnatural. In this case, click Calibrate position to adjust.
Hint
When your character always look downward then look down and Calibrate position to adjust. It makes your avatar to look up always.
Eye Look Target sets where to see. In default you can use Mouse so that the character looks the orientation mouse pointer exists.
NOTE
VMagicMirror v1.1.0 and later also supports iOS app based face tracking.
See detail at External Tracker App .
2.3. Word To Motion
Word To Motion is feature to control face expression.

In default, please try typing “joy” and see what results on your avatar. Also you can select Gamepad on Device Assignment and press A,B,X,Y buttons, or select Keyboard (num 0-8) and press keys to switch expresssions.
Please see the detail in Expressions.
When choosing Device Assignment to Gamepad or MIDI Controller, selected device arm motion is disabled. This helps you to hide what you do to change face expression from audience.
2.4. View
Toggle the checks to set which device is visible and which is invisible.
Especially you can see the effect when keyboard is shown and selecting Typing Effect to something not None.

Hint
If shadow looks bad, please check FAQ and “Shadow looks not good”.
If this does not help, then disable shadow.
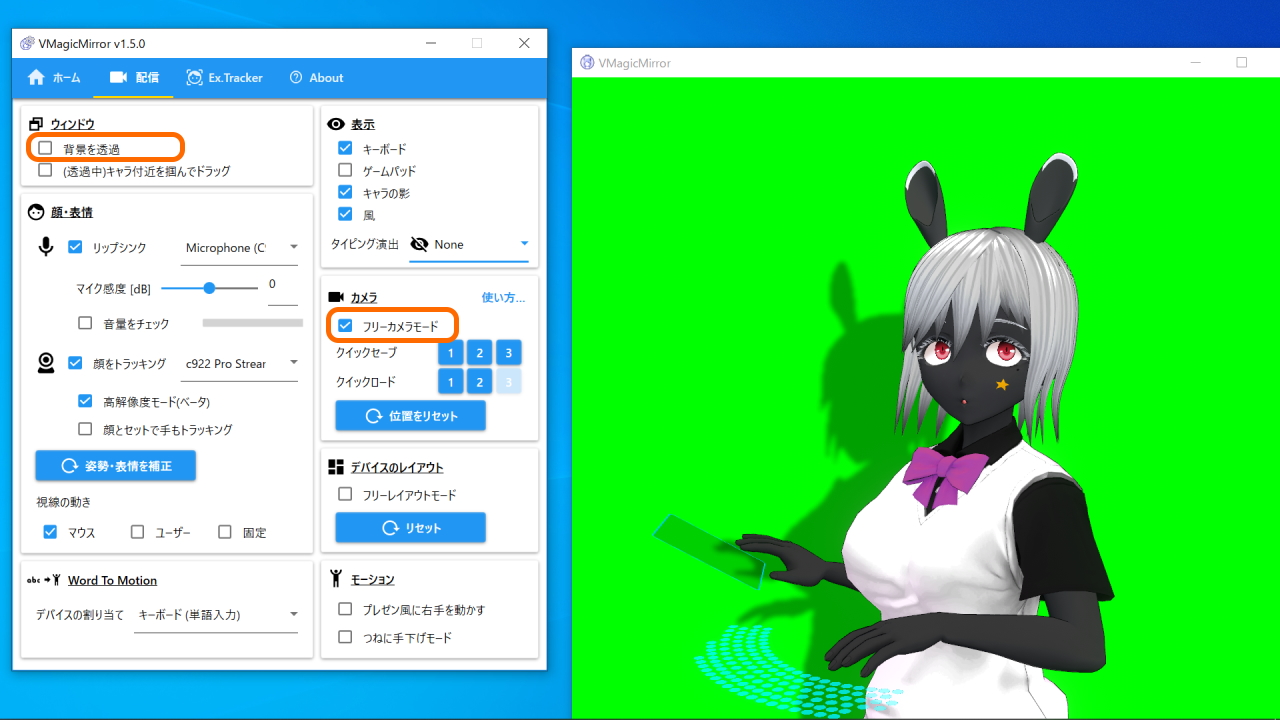
2.5. Camera
This “Camera” means eyesight on the character window.
When you use this feature turn off Transparent Window first. Then, check Free Camera Mode to move the point of view.
Right Click + Drag: Rotate eyesight.Middle Click + Drag: Translate camera position.Middle wheel: Move camera forward or backword.
After the setup it will be good to turn on Transparent Background and disable Free camera mode.
When you are confused where avatar is, press Reset position to recover the situation.
During this setup you can use Quick Save and Quick Load buttons to save or load the point of view.
Hint
There is another way to setup camera position, keeping Transparent Window on.
- Check on
(When Transparent) Drag Character - Left click the character
- Adjust camera position
- After adjusting, check off
(When Transparent)Drag Character
This is useful, but you will be more easily lost the character out of the window area.
In this case press Reset Position, or turn off Transparent Window to see the actual layout.
2.6. Device Layout
Turn on Free Layout to enter device free layout mode.
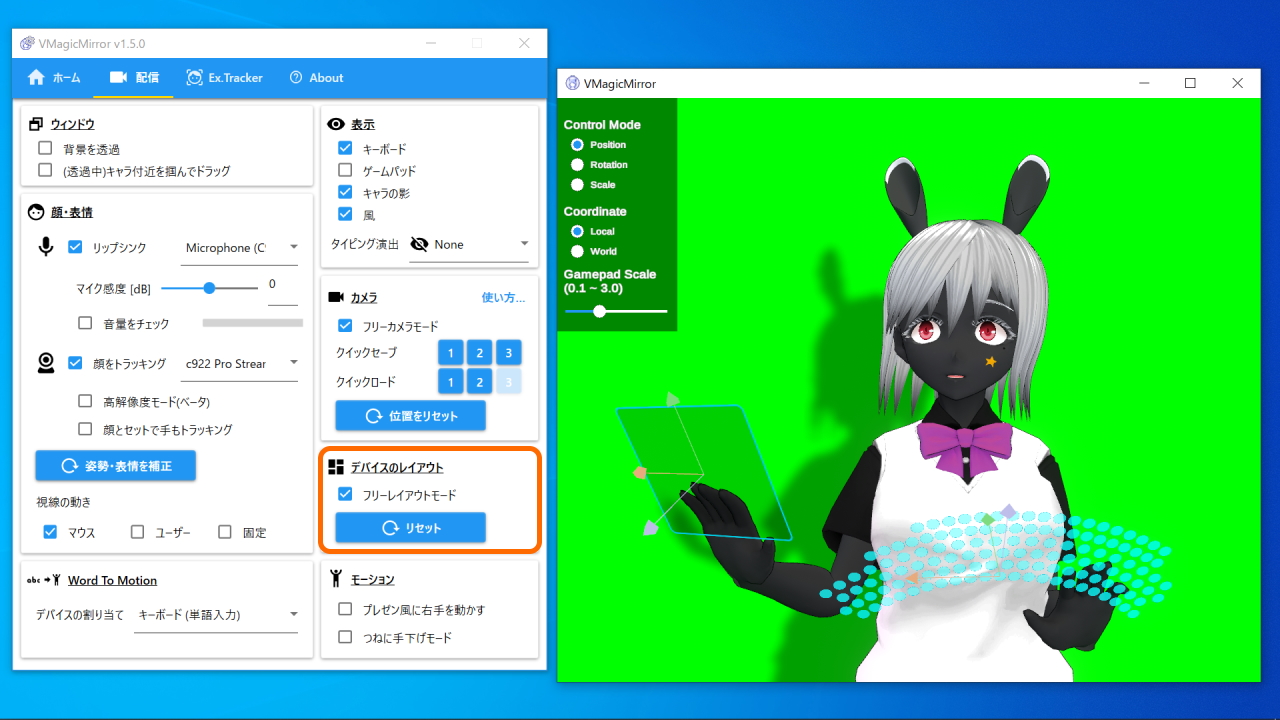
When enter this mode Transparent Window is turned off.
During this mode the control UI appears at the top-left corner of character window.
Control Mode: Choose which parameter to change, position, rotation, or scale.Coordinate: Choose the coordinate from device local, or world. If you are not clear about this, useLocal.Gamepad Scale: Adjust gamepad model size. If gamepad is too big for your avatar, then decrease this value.
Use Reset to recover the standard layout.
2.7. Motion
Check on Presentation-like hand to move VRM’s right hand as if he / she is on a presentation.

This style matches when you have presentation or you want to create instruction video. See Tips: Use VMagicMirror for Presentation for the detail.
Hands-Down Mode forces character’s arms always down. This mode also increases the body movement. Be careful that, this mode disables all other motions except Word to Motion based one, so for example presentation mode requires this check to be turned off.

3. For further customize
The pages below documents more about VMagicMirror’s specification.